
Materials List
- Wood Options (Choose one):
- Hardwoods (better durability): Maple, oak, walnut, or cherry.
- Softwoods (easier to work with): Pine or cedar.
- Sandpaper:
- Grits: 80, 120, 220.
- Wood Glue (optional for laminated coasters).
- Stain or Wood Burning Supplies (for personalization).
- Finish:
- Indoor: Polyurethane, Danish oil, or oil-based finish.
- Outdoor: Spar urethane or exterior wood sealer.
- Rags or Brushes: For applying stains and finishes.
Cut List
- Dimensions for Coasters:
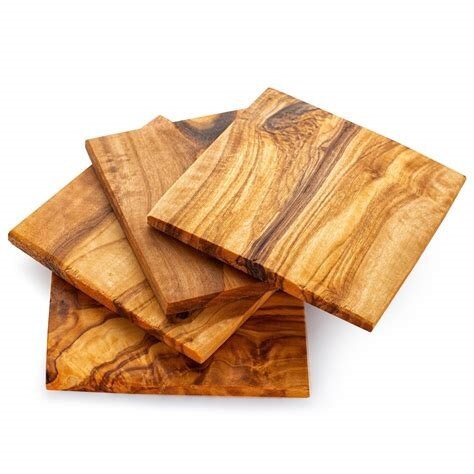
- 4” x 4” squares (standard size).
- Thickness: ½” to ¾” (depending on wood type).
- Plan for 4–6 coasters (adjust quantity based on wood size).
Tool List
- Saw:
- Hand saw or miter saw for straight cuts.
- Sander:
- Orbital sander for even sanding, or sanding blocks for manual work.
- Clamps:
- For holding wood in place while cutting or sanding.
- Ruler or Measuring Tape:
- For precise measurements.
- Pencil:
- To mark your cuts.
- Woodburning Tool (optional):
- For adding designs or patterns.
Safety Equipment
- Safety Glasses: Protects your eyes from flying wood chips and dust.
- Dust Mask/Respirator: Prevents inhalation of fine wood dust during sanding or cutting.
- Hearing Protection: Protects your ears from the loud noises of power tools.
- Clamps: Not just a tool—also a safety measure to keep your hands away from blades while working on small pieces.
Step-by-Step Instructions
1. Measuring and Cutting- Use a ruler or measuring tape to mark your 4” x 4” squares on the wood.
- Cut the pieces using a hand saw or miter saw. Ensure your cuts are straight for a professional look.
- Purpose: Smooth the wood, remove splinters, and prepare for staining or finishing.
- Steps:
- Start with 80-grit sandpaper to remove rough edges.
- Progress to 120-grit to smooth out the surface.
- Finish with 220-grit for a silky finish, especially on the edges and corners.
- Best Practices:
- Always sand with the grain of the wood to avoid scratches.
- Secure your workpiece with clamps or use a non-slip mat to keep it stable.
- Purpose: Enhance the wood grain and add color.
- Steps:
- Test your stain on a scrap piece of wood to see the final color.
- Apply with a clean rag or brush, wiping off excess for an even finish.
- Let the stain dry completely before applying a finish (refer to product instructions for drying times).
- Use a woodburning tool to personalize your coasters with patterns, monograms, or designs.
- Practice on scrap wood before working on your coasters.
- Indoor Finishes:
- Polyurethane: Durable, glossy, or matte. Requires 2–3 coats.
- Danish Oil: Penetrates deeply, enhancing natural grain with a satin finish.
- Oil-Based Finishes: Richen the wood’s color and provide a natural sheen.
- Outdoor Finishes:
- Spar Urethane: Flexible finish that withstands weather changes.
- Exterior Wood Sealer: Protects against moisture and UV damage.
- Steps:
- Use a brush or rag to apply a thin, even coat.
- Allow the first coat to dry, then sand lightly with 320-grit sandpaper.
- Apply additional coats as needed, sanding lightly between coats for smoothness.
- If you’re laminating multiple wood pieces for thicker coasters, glue them together and clamp them for at least 24 hours.
- Once the finish has fully cured, your coasters are ready to use or gift!
Tips for Beginners
- Choose Hardwood for Durability: Maple or walnut are excellent beginner-friendly choices.
- Don’t Skip Sanding: Proper sanding makes a big difference in the final appearance and feel.
- Work Safely: Always use clamps when working on small pieces to prevent accidents.
- Customize Your Coasters: Experiment with designs, wood burning, or even inlays for a unique touch.
Conclusion
This beginner-friendly project introduces fundamental woodworking skills while letting you create something practical and beautiful. With proper tools, materials, and safety practices, you’ll have a set of stunning, handmade coasters to show off or give as thoughtful gifts